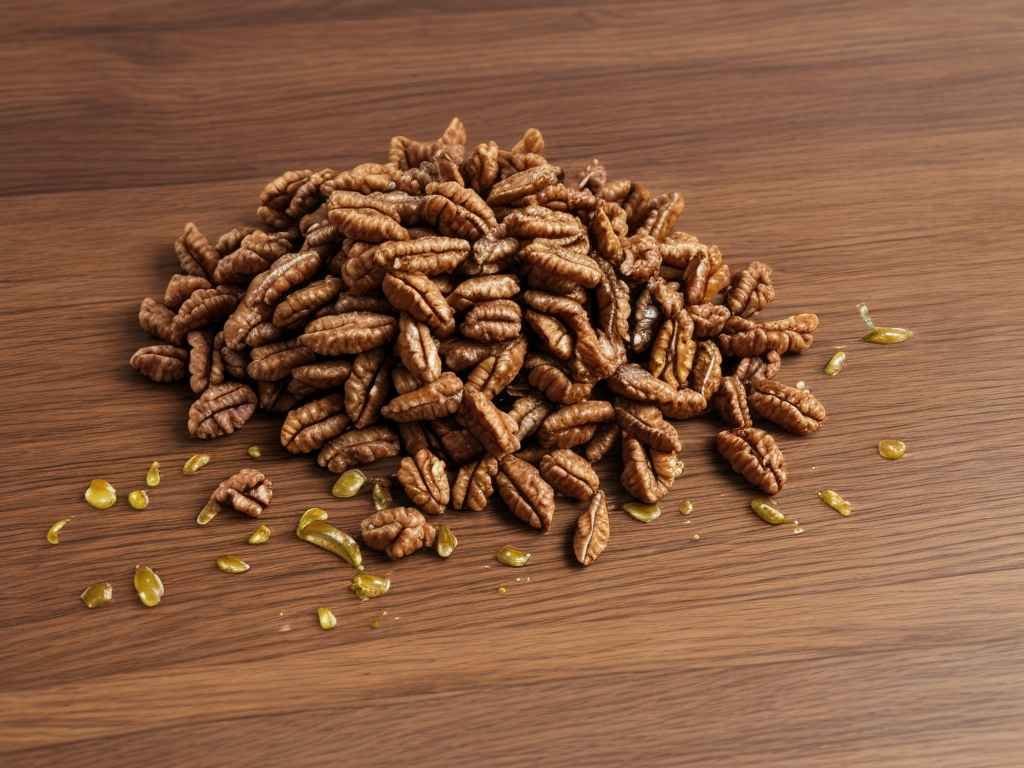
Walnut oil is a versatile and natural product cherished by artists and woodworkers alike. It brings out the natural beauty of wood and creates luminous effects in paintings. But how long does walnut oil take to dry? This question is crucial for anyone looking to achieve a perfect finish. In this article, we’ll dive deep into the how long walnut oil take to dry , exploring the factors that influence it and providing practical tips to optimize your results.
What is Walnut Oil?
Composition and Characteristics
Walnut oil is derived from the nuts of the walnut tree. Known for its rich, amber hue and smooth texture, it is a drying oil, meaning it hardens upon exposure to air. This property makes it an excellent choice for various applications, including wood finishing and painting.
Uses of Walnut Oil
Beyond its aesthetic appeal, walnut oil is prized for its non-toxic nature. It is commonly used in fine art, where it can be mixed with pigments for painting. Woodworkers also favor walnut oil for finishing wooden items, from furniture to kitchen utensils.
Explore: How to Make Walnut Oil Without an Oil Press?
Factors affect How long walnut oil take to dry
Several factors can affect how long walnut oil take to dry. Understanding these can help you better manage your projects and achieve the desired finish.
Thickness of Application
The thickness of the walnut oil layer is a primary factor. Thicker applications naturally take longer to dry compared to thin, even coats.
Environmental Conditions
Temperature, humidity, and airflow play significant roles in drying time. Optimal conditions are warm, dry, and well-ventilated environments.
Surface Type
The type of surface you’re applying the oil to also matters. Porous surfaces like unfinished wood absorb oil faster, potentially speeding up the drying process.

Presence of Additives
Some walnut oils come with added drying agents that can accelerate the process. It’s essential to check the product label for any such additives.
Typical Drying Times for Walnut Oil
Initial Drying Phase
Walnut oil typically takes 4-5 days to dry to the touch. This drying time can vary based on several factors, such as application thickness and environmental conditions.
Full Curing Process
While walnut oil may feel dry to the touch after 4-5 days, it can take up to a week to fully cure and harden. During this curing period, it’s crucial to avoid exposing the oil to water or other liquids to ensure a durable finish.
Explore: How to make walnut oil for wood?
Optimizing Walnut Oil Drying Time
Preparing the Surface
Proper surface preparation is key. Ensure the surface is clean, dry, and smooth before applying the oil. This helps in achieving an even application and better absorption.
Applying Thin Coats
Apply walnut oil in thin, even coats. This not only speeds up drying time but also enhances the finish quality.
Ensuring Proper Ventilation
Good ventilation is crucial. Drying in a well-ventilated area accelerates the process by facilitating the evaporation of solvents and the polymerization of the oil.
Environmental Impact on Drying Time
Temperature
Higher temperatures generally reduce drying time. Aim for a warm environment, but avoid direct sunlight, which can cause uneven drying.
Humidity
High humidity can slow down the drying process, while low humidity levels are ideal for drying walnut oil.
Airflow
Consistent airflow helps. Use fans or open windows to maintain good air circulation, which assists in the drying process.

Comparing Walnut Oil with Other Oils
Linseed Oil
Linseed oil is another popular drying oil. It tends to dry faster than walnut oil but can yellow over time.
Tung Oil
Tung oil dries more slowly than walnut oil but provides a highly durable finish that is water-resistant.
Safflower Oil
Safflower oil dries slower and remains tacky longer, making walnut oil a more practical choice for quicker projects.
Practical Tips for Artists
Mixing Walnut Oil with Paint
Artists often mix walnut oil with oil paints to enhance flow and gloss. Ensure to mix thoroughly and apply in thin layers.
Layering Techniques
When layering, allow each layer to dry fully before applying the next. This prevents smudging and ensures a clear, vibrant finish.
Practical Tips for Woodworkers
Applying Walnut Oil to Wood
Apply walnut oil with a soft cloth or brush, working along the grain of the wood. Wipe off any excess to prevent a sticky finish.
Maintenance of Walnut Oil Finish
Regularly maintain the finish by applying additional coats of walnut oil as needed. This keeps the wood nourished and looking its best.
Common Mistakes to Avoid
Overapplication
Avoid applying too much oil at once. Thick layers can lead to a sticky, uneven finish and significantly extend drying times.
Insufficient Drying Time Between Coats
Rushing the process can result in a poor finish. Allow ample drying time between coats to ensure each layer is properly cured.
Testing Dryness of Walnut Oil
Touch Test
Lightly touch the surface. If it feels dry and not tacky, it’s likely ready for the next step.
Fingernail Test
Gently press your fingernail into the surface. If it leaves an impression, the oil isn’t fully cured yet.
Health and Safety Considerations
Handling Walnut Oil Safely
While walnut oil is non-toxic, always work in a well-ventilated area and use gloves to protect your skin.
Proper Storage
Store walnut oil in a cool, dark place. Ensure the container is tightly sealed to prevent oxidation.
DIY Projects Using Walnut Oil
Easy Projects for Beginners
Start with small projects like finishing cutting boards or wooden spoons. These provide a great way to learn the application process.
Advanced Projects for Experts
For more experienced users, consider larger furniture pieces or intricate wood carvings to showcase the beautiful finish of walnut oil.
Environmental Benefits of Walnut Oil
Sustainability
Walnut oil is a renewable resource, making it an environmentally friendly choice compared to synthetic alternatives.
Non-Toxic Nature
Its non-toxic nature makes walnut oil safe for use on items that come into contact with food, such as salad bowls and utensils.
Conclusion
In summary, the drying time of walnut oil can vary significantly based on several factors, including application thickness, environmental conditions, and surface type. By understanding these factors and applying practical tips, you can optimize the drying process and achieve a beautiful, durable finish. Whether you’re an artist or a woodworker, patience and proper technique are key to getting the best results with walnut oil.
FAQs
How can I speed up the drying time of walnut oil?
To speed up drying, apply thin coats, ensure good ventilation, and maintain a warm, low-humidity environment.
Is walnut oil safe to use on kitchen utensils?
Yes, walnut oil is non-toxic and safe for use on kitchen utensils and surfaces that come into contact with food.
Can I mix walnut oil with other finishes?
Mixing walnut oil with other finishes is possible but should be done with care. Always test on a small area first.


1 Comment
[…] Explore: How Long Walnut Oil Take to Dry […]